Learning notes for DBiT, credit to Dr. Mingyu Yang https://github.com/MingyuYang-Yale/DBiT-seq. High-Spatial-Resolution Multi-Omics Sequencing via Deterministic Barcoding in Tissue https://doi.org/10.1016/j.cell.2020.10.026
- DBiT Work Flow
- HPC Data Processing
- Raw Image Processing
- Data Visualization
- Other stuffs
- Log for Installment and environmental setting
Don't redo this part unless to set up a new environment, at least effective at 2022/05/04)
- Experiments on tissue samples;
- Sample thickness < 10 um;
- 50 * 50 barcodes;
- Extract the Sequences using Illumina kit;
- Sequencing by Novogene;
- Set up the ST Pipeline environment (conda) on HPC
- Install X11
launchctl load -w /Library/LaunchAgents/org.macosforge.xquartz.startx.plist echo $DISPLAY - Follow the instruction of ST Pipeline https://github.com/jfnavarro/st_pipeline
- Current procedure
module load miniconda conda create -n st-pipeline python=3.7 conda activate st-pipeline conda install PySam conda install Numpy conda install Cython pip install taggd pip install stpipeline - Test the installment
st_pipeline_run.py -h
- Install X11
- Set up Perl environment on HPC, and run effective.sh afterwards
wget https://cpan.metacpan.org/authors/id/N/NW/NWCLARK/PerlIO-gzip-0.20.tar.gz # module avail Perl module load Perl/5.28.0-GCCcore-7.3.0 tar -zxvf PerlIO-gzip-0.20.tar.gz cd PerlIO-gzip-0.20/ mkdir mybuild perl Makefile.PL PREFIX=/gpfs/ysm/project/fan/sb2723/01.Spatial_hCortex/00.bin/PerlIO-gzip-0.20/mybuild make make install- If there's a Perl package is missing, following the above steps to install
- Install the SVG environment
module load Perl/5.28.0-GCCcore-7.3.0
wget https://cpan.metacpan.org/authors/id/M/MA/MANWAR/SVG-2.86.tar.gz
tar -zxvf SVG-2.86.tar.gz
cd SVG-2.86/
mkdir mybuild
perl Makefile.PL PREFIX=/gpfs/ysm/project/fan/sb2723/01.Spatial_hCortex/00.bin/SVG-2.86/mybuild
make
make install
- If there's a Perl package is missing, following the above steps to install
- Make the index of the reference on HPC
-
Once it's settled up, no need to change unless there's new sample or new updates
- Current version of human gene reference (Farnam v39, Ruddle v40)
wget https://ftp.ebi.ac.uk/pub/databases/gencode/Gencode_human/release_39/gencode.v39.annotation.gtf.gz wget http://ftp.ensembl.org/pub/release-105/gtf/homo_sapiens/Homo_sapiens.GRCh38.105.gtf.gz % wget https://ftp.ebi.ac.uk/pub/databases/gencode/Gencode_human/release_39/gencode.v39.long_noncoding_RNAs.gtf.gz (not downloadable 2022/05/04) wget http://ftp.ensembl.org/pub/release-105/fasta/homo_sapiens/ncrna/Homo_sapiens.GRCh38.ncrna.fa.gz- install the STAR and samtool to establish the reference database, better in a database folder
module load miniconda conda activate st-pipeline conda install -c bioconda star conda install -c bioconda samtools openssl=1.0 st_pipeline_run.py -v rsync -avzP rsync://hgdownload.cse.ucsc.edu/goldenPath/hg38/chromosomes/ .- Remove all the unknown and random chromosome files ChrUn.xxx.fa.gz
rm chr*_*.fa.gz- Unzip the annotation file and combine them into one, delete the original seperate files (not double confirmed)
for i in {1..22} X Y M; do gzip -d chr$i.fa.gz;done for i in {1..22} X Y M; do cat chr$i.fa; done >> hg38.fa for i in {1..22} X Y M; do rm chr$i.fa;done cut -f1 Homo_sapiens.GRCh38.105.gtf | uniq cut -f1 gencode.v39.annotation.gtf | uniq grep '>chr' hg38.fa- Make the directory of STARindex and STARindex_nc under the genome directory
- The following in the starindex.sh and starindex_nc.sh needed to be changed, and the sbatch both files, remember to request for the interactive nodes for the job
- Make a directory of STARindex and set it as the genomeDir
--genomeDir /gpfs/ysm/project/fan/sb2723/00.database/hg38/STARindex- The genome fasta file is the one we combined last step
--genomeFastaFiles /gpfs/ysm/project/fan/sb2723/00.database/hg38/hg38.fa- The annotation file should be coordinate with the genome fasta file
- The chromosome name should be chr* or numbers/X/Y only
--sjdbGTFfile /gpfs/ysm/project/fan/sb2723/00.database/hg38/gencode.v39.annotation.gtf- This line denotes the sequencing length, we're doing 150 here
--sjdbOverhang 149- The limit of genome generate RAM should be adjusted by the instruction (* double confirm with Mingyu)
--limitGenomeGenerateRAM 50000000000- The directory should be changed to nc folder and the fasta files should also be changed.
--genomeDir /gpfs/ysm/project/fan/sb2723/00.database/hg38/StarIndex_nc
--genomeFastaFiles /gpfs/ysm/project/fan/sb2723/00.database/hg38/Homo_sapiens.GRCh38.ncrna.fa
-
For mouse genome reference (whole work flow is doable)
- Current chromosome sequence source: http://hgdownload.soe.ucsc.edu/goldenPath/mm39/chromosomes/
rsync -avzP rsync://hgdownload.cse.ucsc.edu/goldenPath/mm39/chromosomes/ .rm chr*_*.fa.gz for i in {1..19} X Y M; do gzip -d chr$i.fa.gz;done for i in {1..19} X Y M; do cat chr$i.fa; done >> mm39.fa for i in {1..19} X Y M; do rm chr$i.fa;done- Current annotation are from: https://useast.ensembl.org/Mus_musculus/Info/Index
wget http://ftp.ensembl.org/pub/release-105/fasta/mus_musculus/ncrna/Mus_musculus.GRCm39.ncrna.fa.gz wget http://ftp.ensembl.org/pub/release-105/gtf/mus_musculus/Mus_musculus.GRCm39.105.gtf.gz gzip -d Mus_musculus.GRCm39.105.gtf.gz gzip -d Mus_musculus.GRCm39.ncrna.fa.gz cut -f1 Mus_musculus.GRCm39.105.gtf | uniq cut -f1 Mus_musculus.GRCm39.ncrna.fa | uniq % Following are the useful part wget https://ftp.ebi.ac.uk/pub/databases/gencode/Gencode_mouse/release_M28/gencode.vM28.annotation.gtf.gz wget https://ftp.ebi.ac.uk/pub/databases/gencode/Gencode_mouse/release_M28/gencode.vM28.long_noncoding_RNAs.gtf.gz gzip -d gencode.vM28.annotation.gtf.gz gzip -d gencode.vM28.long_noncoding_RNAs.gtf.gz cd /gpfs/ysm/project/fan/sb2723/00.database/mm39 mkdir STARindex_nc mkdir STARindex module load miniconda conda activate st-pipeline srun --pty -p interactive -c 4 --mem=16g bash % change the pathway inside the file sh starindex.sh sh starindex_nc.sh -
For Bovine genome reference (2023/06/13), need to double check, did not remove the ChrUN* in the .fa file
- Current Bovine genome (UCSC https://hgdownload.soe.ucsc.edu/goldenPath/bosTau9/bigZips/)
wget http://ftp.ensembl.org/pub/release-109/fasta/bos_taurus/cdna/Bos_taurus.ARS-UCD1.2.cdna.all.fa.gz wget https://hgdownload.soe.ucsc.edu/goldenPath/bosTau9/bigZips/bosTau9.fa.gz wget http://ftp.ensembl.org/pub/release-109/fasta/bos_taurus/ncrna/Bos_taurus.ARS-UCD1.2.ncrna.fa.gz gzip -d Bos_taurus.ARS-UCD1.2.cdna.all.fa.gz gzip -d bosTau9.fa.gz gzip -d gzip -d Bos_taurus.ARS-UCD1.2.ncrna.fa.gz- Current annotations (Ensembl release 109)
wget http://ftp.ensembl.org/pub/release-109/gtf/bos_taurus/Bos_taurus.ARS-UCD1.2.109.chr.gtf.gz wget http://ftp.ensembl.org/pub/release-109/gtf/bos_taurus/Bos_taurus.ARS-UCD1.2.109.abinitio.gtf.gz gzip -d Bos_taurus.ARS-UCD1.2.109.chr.gtf.gz # Add chr before each chromatin awk '{if($1 !~ /^#/){$1="chr"$1}; print}' Bos_taurus.ARS-UCD1.2.109.chr.gtf > Bos_taurus.ARS-UCD1.2.109.gtf rm Bos_taurus.ARS-UCD1.2.109.chr.gtf mv Bos_taurus.ARS-UCD1.2.109.gtf Bos_taurus.ARS-UCD1.2.109.chr.gtf- STAR, McCleary is a little different than previous node
cd /gpfs/gibbs/project/fan/sb2723/00.database/RNA/UCD1.2 mkdir STARindex_nc mkdir STARindex conda activate st-pipeline salloc -c 4 --mem=16g bash % change the pathway and the partition info inside the files sbatch starindex.sh sbatch starindex_nc.sh- STAR is generated successfully but the STAR mapping is out of memory
- Trouble shooting
The return data is not the chromatin numbers, try to change the space to tabcut -f1 Bos_taurus.ARS-UCD1.2.109.chr.gtf | uniqIt at least matched results of doing the same steps for human genome after checking the uniq first column It turns out that there's no annotations for Unknown chromasome, try to get rid of those from the original genome .gtf filessed 's/\ /\t/g' Bos_taurus.ARS-UCD1.2.109.chr.gtf > Bos_taurus.ARS-UCD1.2.109.chr_1.gtfDelete the original two folders for STARindex and STARindex_nc and rebuild the STAR using bosTau9_noUn.fa and Bos_taurus.ARS-UCD1.2.109.chr.gtfperl -ne 'BEGIN{$/=">"} print $_ unless ($_ eq "" || /chrUn/); END{$/="\n"}' bosTau9.fa > bosTau9noUN.fa - Still not running well, change the genome file to Bos_taurus.ARS-UCD1.2.dna.toplevel.fa
-
Still not going well, after consult with Mingyu, here's the takeaway (2023/06/23)
- Use the UCSC paired annotation and raw data - the annotation is the most clean
- gtf file is inside the gene/ folder
- Use the bosTau9.refGene.gtf
- Use the bosTau9.fa
- Get rid of the unknown genes in fasta file and gtf file and check
perl -ne 'BEGIN{$/=">"} print $_ unless ($_ eq "" || /chrUn/); END{$/="\n"}' bosTau9.fa > bosTau9noUN.fa grep '>' bosTau9noUN.fa grep -v "^chrUn" bosTau9.refGene.gtf > bosTau9.refGene_noUN.gtf cut -f1 bosTau9.refGene_noUN.gtf | uniq - Change the sequence of the annotation file and fasta file and make them consistent (Very important!!!!!!!!!!!)
vi sort_squence.py# sort_squence.py order = [line.strip() for line in open('order.txt')] lines = [line for line in open('bosTau9.refGene_noUN.gtf')] def sort_key(line): fields = line.split('\t') try: return order.index(fields[0]) except ValueError: return -1 sorted_lines = sorted(lines, key=sort_key) with open('bosTau9.refGene_noUN_sorted.gtf', 'w') as f: for line in sorted_lines: f.write(line)The two files are in the same sequence nowpython sort_squence.py cut -f1 bosTau9.refGene_noUN_sorted.gtf | uniq - The lncRNA.fa is using the Ensembl because there's no relating file in UCSC
- Use the UCSC paired annotation and raw data - the annotation is the most clean
-
The original sorted.gtf still had some gene not well sorted, therefore, it lead to the huge redundancy of the expression matrix. (Mingyu figured out the issue) Try the code below and rerun the STAR and st-pipeline. (finger crossed)
# Sort by sequence name (1st column) and start position (4th column)
sort -k1,1 -k4,4n bosTau9.refGene_noUN.gtf > bosTau9.refGene_sorted.gtf
-
- Get the Sequence result from Novogene
- Check the library QC report.
- Copy the
 into the excel file named "Sample QC Overall"
- Copy the
- Batch download the data to HPC folder;
- Make new project folder and put raw data in it with a name of 0.raw_data
wget -r -c ftpxxx- Make shortcuts for the raw data folder if necessary, the folder name will be the same as hC2
ln -s /gpfs/ysm/project/fan/sb2723/01.Spatial_hCortex/01.rawdata/usftp21.novogene.com/raw_data/hC2 - Uzip and zip the raw data from Novogene using gzip.sh
- If it's batch processing, make sure whe doing gzip -d, the files are ending with .gz, while doing the rezip, the files are ending with .fq
for i in `cat list20220419`;do echo "gzip -d /gpfs/ysm/project/fan/sb2723/00.Rawdata_backup/usftp21.novogene.com_hK_040722/raw_data/*/$i";done>>unzip3.sh
sbatch submit20220419.sh
- Check the library QC report.
- Filter the raw data and rearrange read format to be compatible with ST Pipeline using effective.sh, the barcode file should be barcode.xls in the folder.
- Perl file is used for the processing, 1-effective.pl
sbatch effective.sh - Cat the log file to paste the barcode A and B and barcode AB into the excel file named "Sample QC Overall"
- Calculate the Effective reads by barcodeAB/(Raw Reads/s)*100%
- Perl file is used for the processing, 1-effective.pl
- Run st-pipeline
- Remember to get into the miniconda environment
module load miniconda conda activate st-pipeline - Run ST pipeline. The barcode files in the stpipeline.sh should be barcodes-AB.xls
- stpipeline.sh is in /00.sh, just run hC1.stpipeline.sh because it's running the stpipeline.sh
sbatch hC1.stpipeline.sh
- Remember to get into the miniconda environment
- Change ID using changeid.sh and get the updated.tsv
- Run the changeid.sh for samples, the first parameter is sampleid and the second is the dirname
module load miniconda conda activate st-pipeline srun --pty -p interactive --mem=16g bash sh changeid.sh - To check the data integrity
for i in `ls */*.gz`;do md5sum $i;done
- Batch processing (log20220330)
for i in `cat list2`;do echo "gzip /gpfs/ysm/project/fan/sb2723/00.Rawdata_backup/usftp21.novogene.com/raw_data/*/$i";done>>rezip3.sh
module load miniconda
conda activate st-pipeline
sbatch submit.sh 00.batch_stpipeline
Dr. Yang Liu's Github: https://github.com/edicliuyang/DBiT-seq_FFPE/blob/master/Figure_Processing/Pixel_identification.m
- Crop the image using PS
- Use Image -> Adjustment -> Threshold
- Use Image -> Adjustment -> Invert
- Use the Matlab script Pixel_identification.m to generate position information
- Use qa.pl file to generate the SVG file (position information) of the original file
- Load the Perl environment first
module load Perl/5.28.0-GCCcore-7.3.0- Make the file executable
orchmod 755 qa.plchmod +x qa.pl- Check the Perl syntax
perl -c qa.pl- Run the perl code
perl /gpfs/ysm/project/fan/sb2723/00.bin/qa.pl hC2_stdata.updated.tsv > hC2.svg - Use the change-xy.pl to flip or rotate the hC2_stdata.updated.tsv if necessary (so far for my data, yes)
- If the Perl has been loaded, skip this step
module load Perl/5.28.0-GCCcore-7.3.0- Current change-xy.pl can flip over the center of the x axe
perl /gpfs/ysm/project/fan/sb2723/00.bin/change-xy.pl hC2_stdata.updated.tsv > hC2_stdata.updated.flipped.tsv - Use the Perl to create position files using 2-svgto.pl & 3-select_under_tissue.pl
perl /gpfs/ysm/project/fan/sb2723/00.bin/2-svgto.pl GBM220126B_1_stdata.updated.flipped.tsv position.txt > svg-pos.txt perl /gpfs/ysm/project/fan/sb2723/00.bin/3-select_under_tissue.pl svg-pos.txt GBM220126B_1_stdata.updated.flipped.tsv > GBM220126B_1_stdata.updated.flipped.aligned.tsv- Use python to change the svg-pos.txt to old position.txt format if necessary (https://blog.csdn.net/u013019701/article/details/104056898)
- Go ahead to generate the result with the updated tsv file
Credit to Dr. Yanxiang Deng Jupyter notebook code from: https://github.com/dyxmvp/Spatial_ATAC-seq
- Open Adobe Illustrator, generate a artboard ~3000*3000 pixel;
- Import your image, and your overlaped ROI;
- In a new layer, draw a square with no filling, border only, fit into one pixel for experiment;

- Select the square, open the property panel, choose the fx option

- Select "Distort/Transform" - "Transform..."

- Copy the square horizontally, set the copy as your channel # -1, change the moving distance (pixel) to make it fit into next pixel

- Choose Object in the menu, "Expand the appearance"


- For the whole row, open the property panel, choose the fx option, do the "Distort/Transform" - "Transform..." again for the vertical repeats

- "Expand the appearance" again,

- In the menu,"Object" - "Ungroup" twice.


- Select the spots not on tissue, change the border color

- Delete the background figure layer temporately, and save the .SVG file (two-color spots only)


- Recover the background layer by ctrl+Z, delete the spot layer and save the underlying tissue ("Export" - "Save for screen"), the name of it is "tissue_under_spots.png"

- Use the jupyter notebook code to generate the contents inside the "spatial" folder
- Install conda R environment and the R studio environment on HPC (refer to github)
salloc -c 4 --mem=16g bash mamba create -n R_env_4.2 r-base=4.2 r-essentials r-raster r-rgdal python conda activate R_env_4.2 mamba install magic pip install magic-impute mamba install cmake mamba install r-devtools - Install the packages in R
install.packages("pacman") install.packages("BiocManager") install.packages("reticulate") install.packages("Rmagic") devtools::install_github("gadenbuie/rsthemes") packages <- c( "rmdformats", "Seurat", "ggplot2", "patchwork", "dplyr", "magrittr", "data.table", "OpenImageR", "grid", "utils", "gridExtra", "tidyr", "raster", "ggpubr", "BuenColors", "yarrr", "plyr", "knitr", "imager", "viridis", "kableExtra", "tibble", "DOSE", "STdeconvolve" ) install.packages(packages) /Replace the seurat install.packages("YOURPATH/spatstat.core_1.65-0.tar.gz") install.packages("YOURPATH/seurat.tar.gz") BiocManager::install(c("org.Hs.eg.db", "clusterProfiler", "org.Mm.eg.db", "enrichplot")) remotes::install_github('JEFworks-Lab/STdeconvolve') reticulate::py_install("magic") - To use Rmagic we need to use the correct python environment (which is under current conda environment)
reticulate::use_python("/path/to/python")
- Use Spatialde to redo the clustering: https://github.com/Teichlab/SpatialDE
- Set up a new conda environment
-
Request for interactive job memory
srun --pty -p interactive -c 1 --mem=6g bash -
search in the history
history | grep interactive -
Substitute something in batch
%s/(original)/(replaced)/gg/(original)/ s//(replaced)/g- For large file, in command line
sed 's/(original)/(replaced)/g' original.file > output.file -
Save history
history > logxxx -
Change the file permission
chmod 755 -R STARindex_ncor
chmod +x file.filetype-r is for folder
-
Environment setting and shortcuts
vi $HOME/.bashrcvi ~/.bashrc source ~/.bashrc -
Quick preview of a compressed file
zcat hC2_CKDL210027950-1a_H2YCKDSX3_L1_2.fq.gz |lesor
less hC2_CKDL210027950-1a_H2YCKDSX3_L1_2.fq.gz- With searching function
zcat hC2_CKDL210027950-1a_H2YCKDSX3_L1_2.fq.gz | grep ACGCTCGA |les -
Upload and download file or folder to/from HPC
cd ~/Desktop
scp sb2723@farnam.hpc.yale.edu:/gpfs/ysm/project/fan/sb2723/01.Spatial_hCortex/03.stpipeline/hC2/hC2.svg ./
scp -r download/upload_directory upload/download_directory -
Remove the file with double confirmation
rm -i filename rm -ri dirname -
Set line number in vi
:set nu
- To check the capability of R
module load Rxxx R capabilities() - To set the conda R environment (do not use)
conda create --name dbit_r r-base r-essentials - Use the R server
- png issue: Add the following sentence at the beginning of the code, after the library loading
options(bitmapType = 'cairo')
- Check read2 file, interrupt using ctrl C immediately (just run several seconds) and then check first 100 sequences
module load Perl/5.28.0-GCCcore-7.3.0 perl /gpfs/ysm/project/fan/sb2723/00.bin/fq2fa.pl hK1.R2.fq.gz hK1.R2.fa ls -lrt head -200 hK1.R2.fa- To check with certain lines in the middle
sed -n '20,30p' FAVI_636_0044.R2.fa - Copy the file to the website: https://blast.ncbi.nlm.nih.gov/Blast.cgi
-
2022/05/04
- One of the human genome reference is not downloadable, delete all reference for consistancy
wget https://ftp.ebi.ac.uk/pub/databases/gencode/Gencode_human/release_39/gencode.v39.long_noncoding_RNAs.gtf.gz- bioconda samtools openssl=1.0 may have some issues
- Detele openssl=1.0 (2022/06/06)
conda install -c bioconda "samtools>=1.10" -
2022/05/09
- Human genome reference v39 is not downloadable, change it to v40
wget https://ftp.ebi.ac.uk/pub/databases/gencode/Gencode_human/release_40/gencode.v40.annotation.gtf.gz wget https://ftp.ebi.ac.uk/pub/databases/gencode/Gencode_human/release_40/gencode.v40.long_noncoding_RNAs.gtf.gz wget http://ftp.ensembl.org/pub/release-105/gtf/homo_sapiens/Homo_sapiens.GRCh38.105.gtf.gz wget http://ftp.ensembl.org/pub/release-105/fasta/homo_sapiens/ncrna/Homo_sapiens.GRCh38.ncrna.fa.gz -
2022/06/03
- Build the human references using STAR
cd /gpfs/ycga/project/fan/sb2723/00.database/hg38 mkdir STARindex_nc mkdir STARindex module load miniconda conda activate st-pipeline % change the pathway inside the file: g/ysm/ s//ycga/g sbatch starindex.sh sbatch starindex_nc.sh- Build the mouse references from downloading
cd /gpfs/ycga/project/fan/sb2723/00.database/mm39 wget https://ftp.ebi.ac.uk/pub/databases/gencode/Gencode_mouse/release_M28/gencode.vM28.annotation.gtf.gz wget https://ftp.ebi.ac.uk/pub/databases/gencode/Gencode_mouse/release_M28/gencode.vM28.long_noncoding_RNAs.gtf.gz gzip -d gencode.vM28.annotation.gtf.gz gzip -d gencode.vM28.long_noncoding_RNAs.gtf.gz mkdir STARindex_nc mkdir STARindex module load miniconda conda activate st-pipeline % change the pathway inside the file: g/ysm/ s//ycga/g sbatch starindex.sh sbatch starindex_nc.sh -
2022/07/22
- Solve the samtool problem!! Install Pysam in the conda environment stpipeline SpatialTranscriptomicsResearch/st_pipeline#119
pip3 install 'pysam==0.15.4' --force-reinstall -
2022/10/13
find ./ -name *.plGenerate test file
zcat cDNA_GBM220415_CKDL220024579-1A_H7LYCDSX5_L1_1.fq.gz |head -10000 | gzip > test_1.fq.gzGet the string in the 1-8 positions and look the barcodes up
zcat GBM220413.R1.fq.gz | cut -b 1-8 > BC1 for i in `cat /gpfs/gibbs/pi/fan/sb2723/test/02.effective/test/barcode`;do cat BC1 | grep $i | wc -c; done>>BC1_c -
2022/10/14
nohup sh/gpfs/gibbs/pi/fan/sb2723/test/02.effective/test/run.sh & -
2022/11/18
- Check https://github.com/grmsu/DBiT-start for the # 09/14/2022 notes to install Rmagic environment for conda R
-
2023/02/07
-
Re-install the conda R on Ruddle HPC using # 09/14/2022 notes in https://github.com/grmsu/DBiT-start
mamba create -n ~env-name~ r-base=4.0 r-essentials r-raster r-rgdal python
conda activate ~env-name~
pip install magic-impute
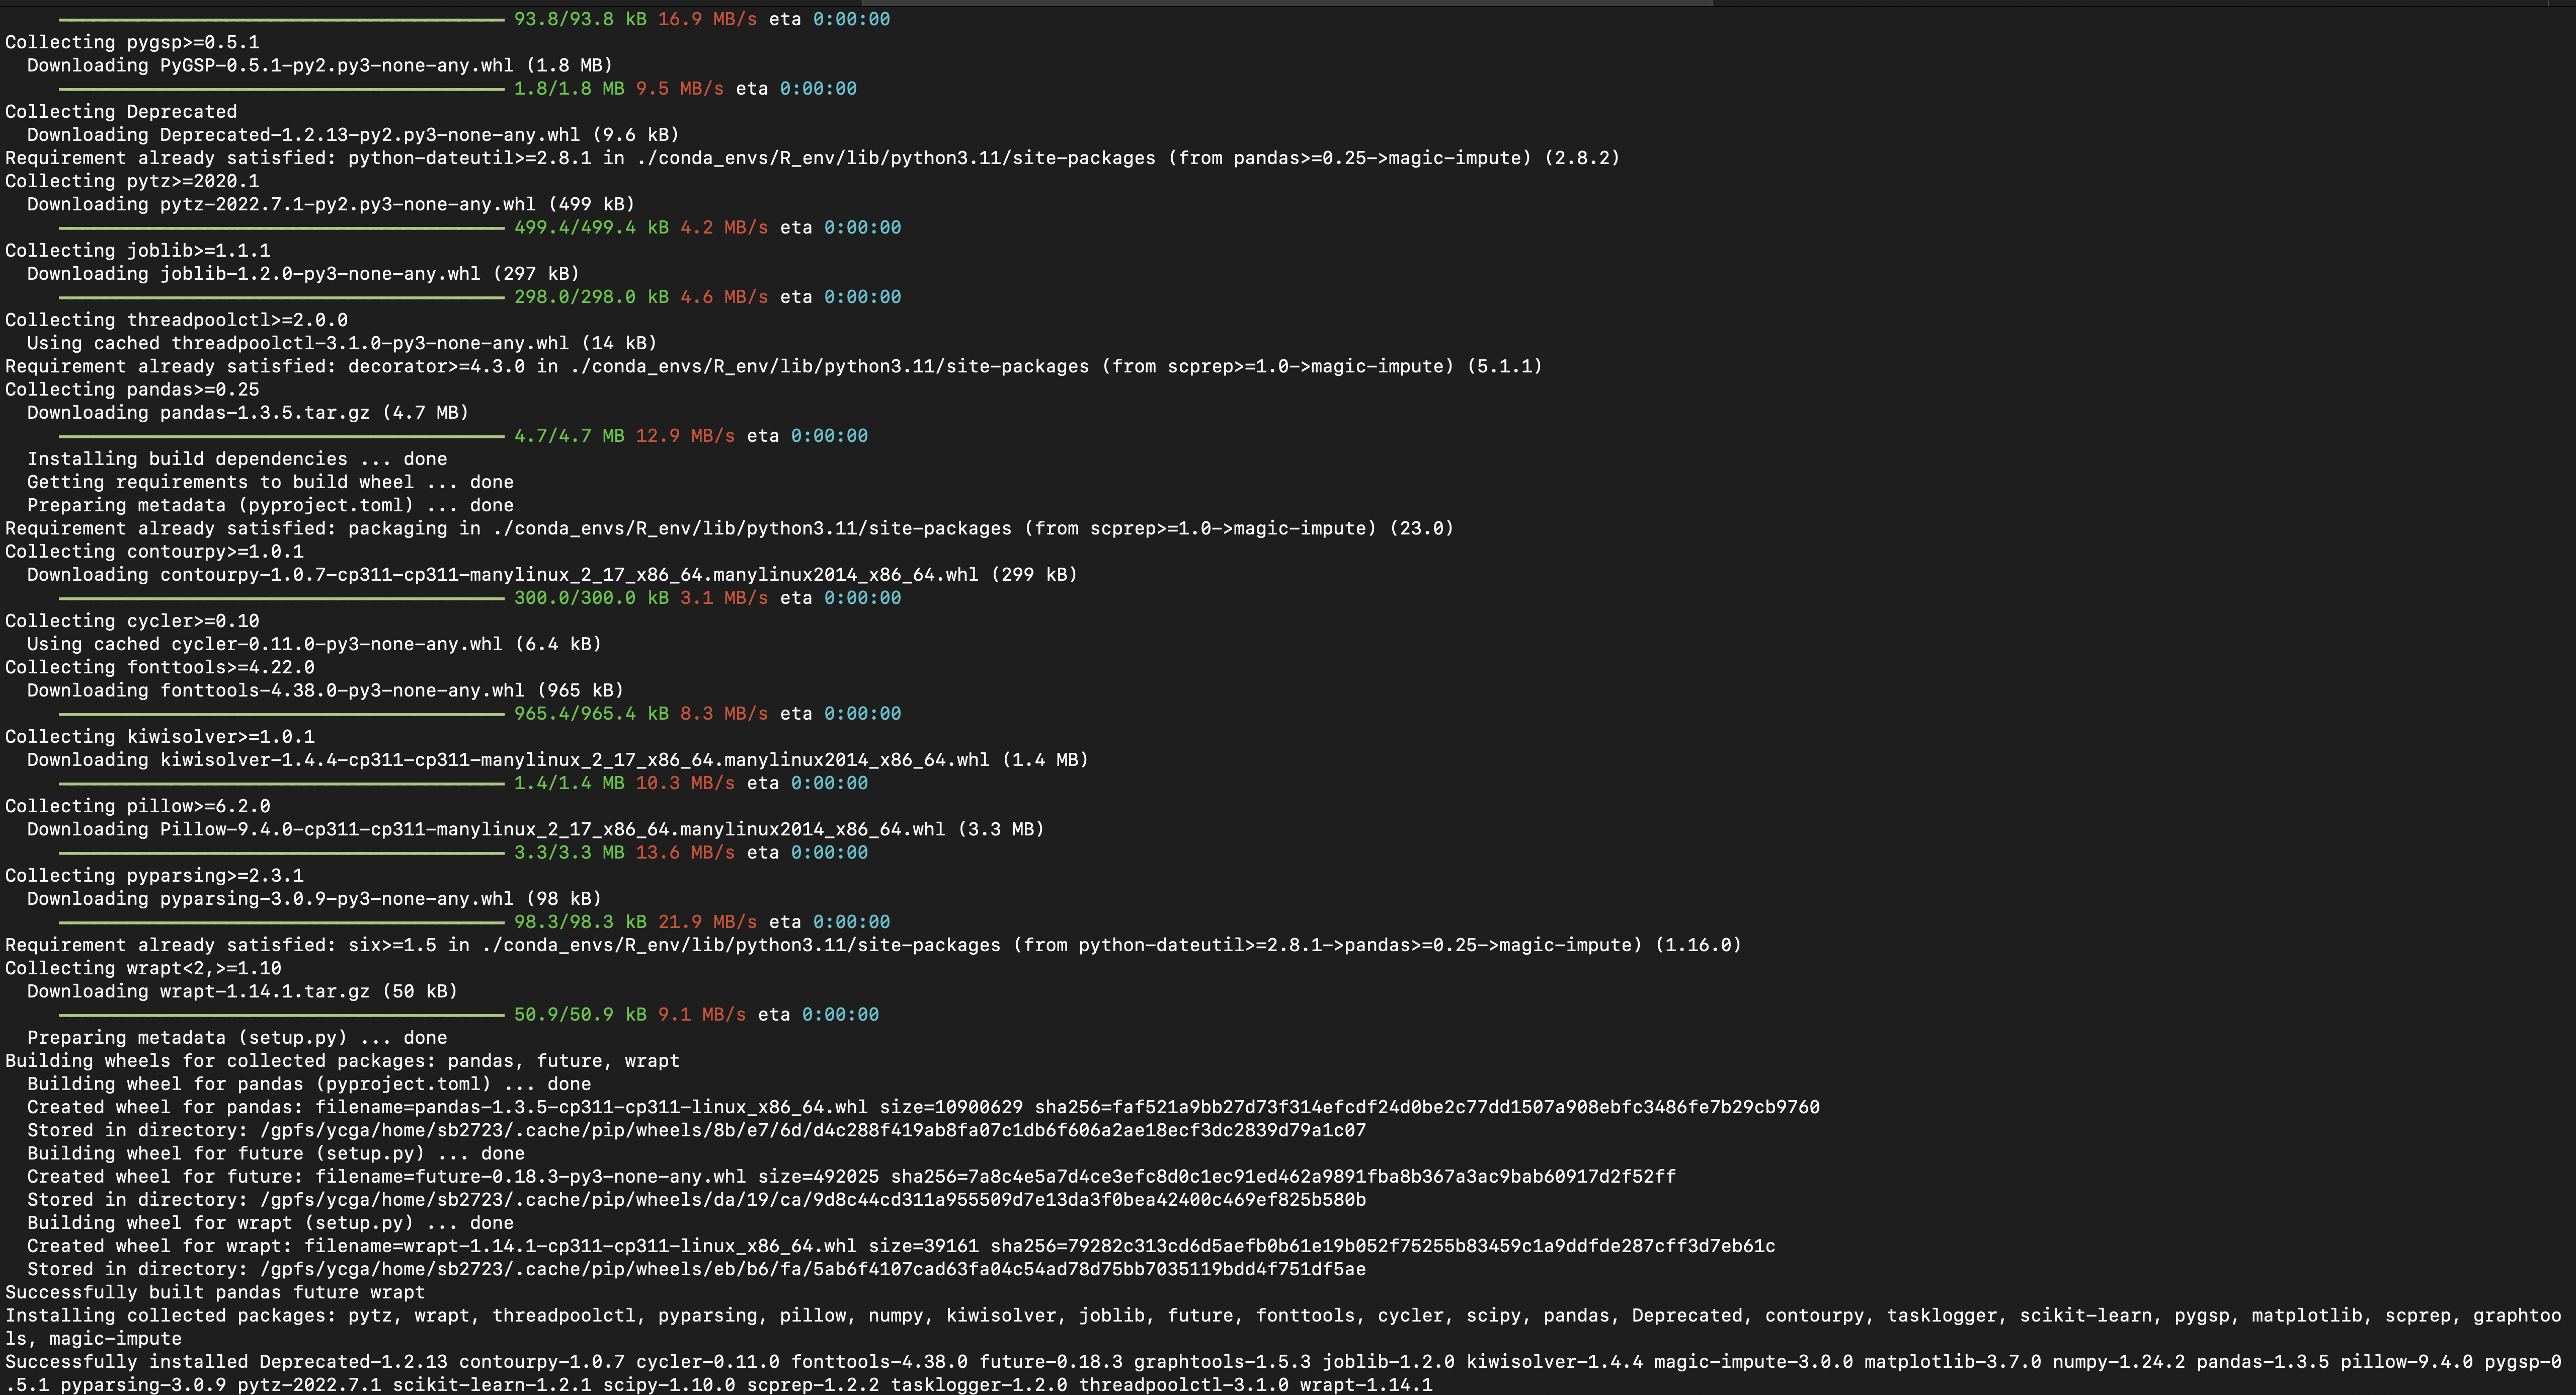
mamba install cmake r-devtools
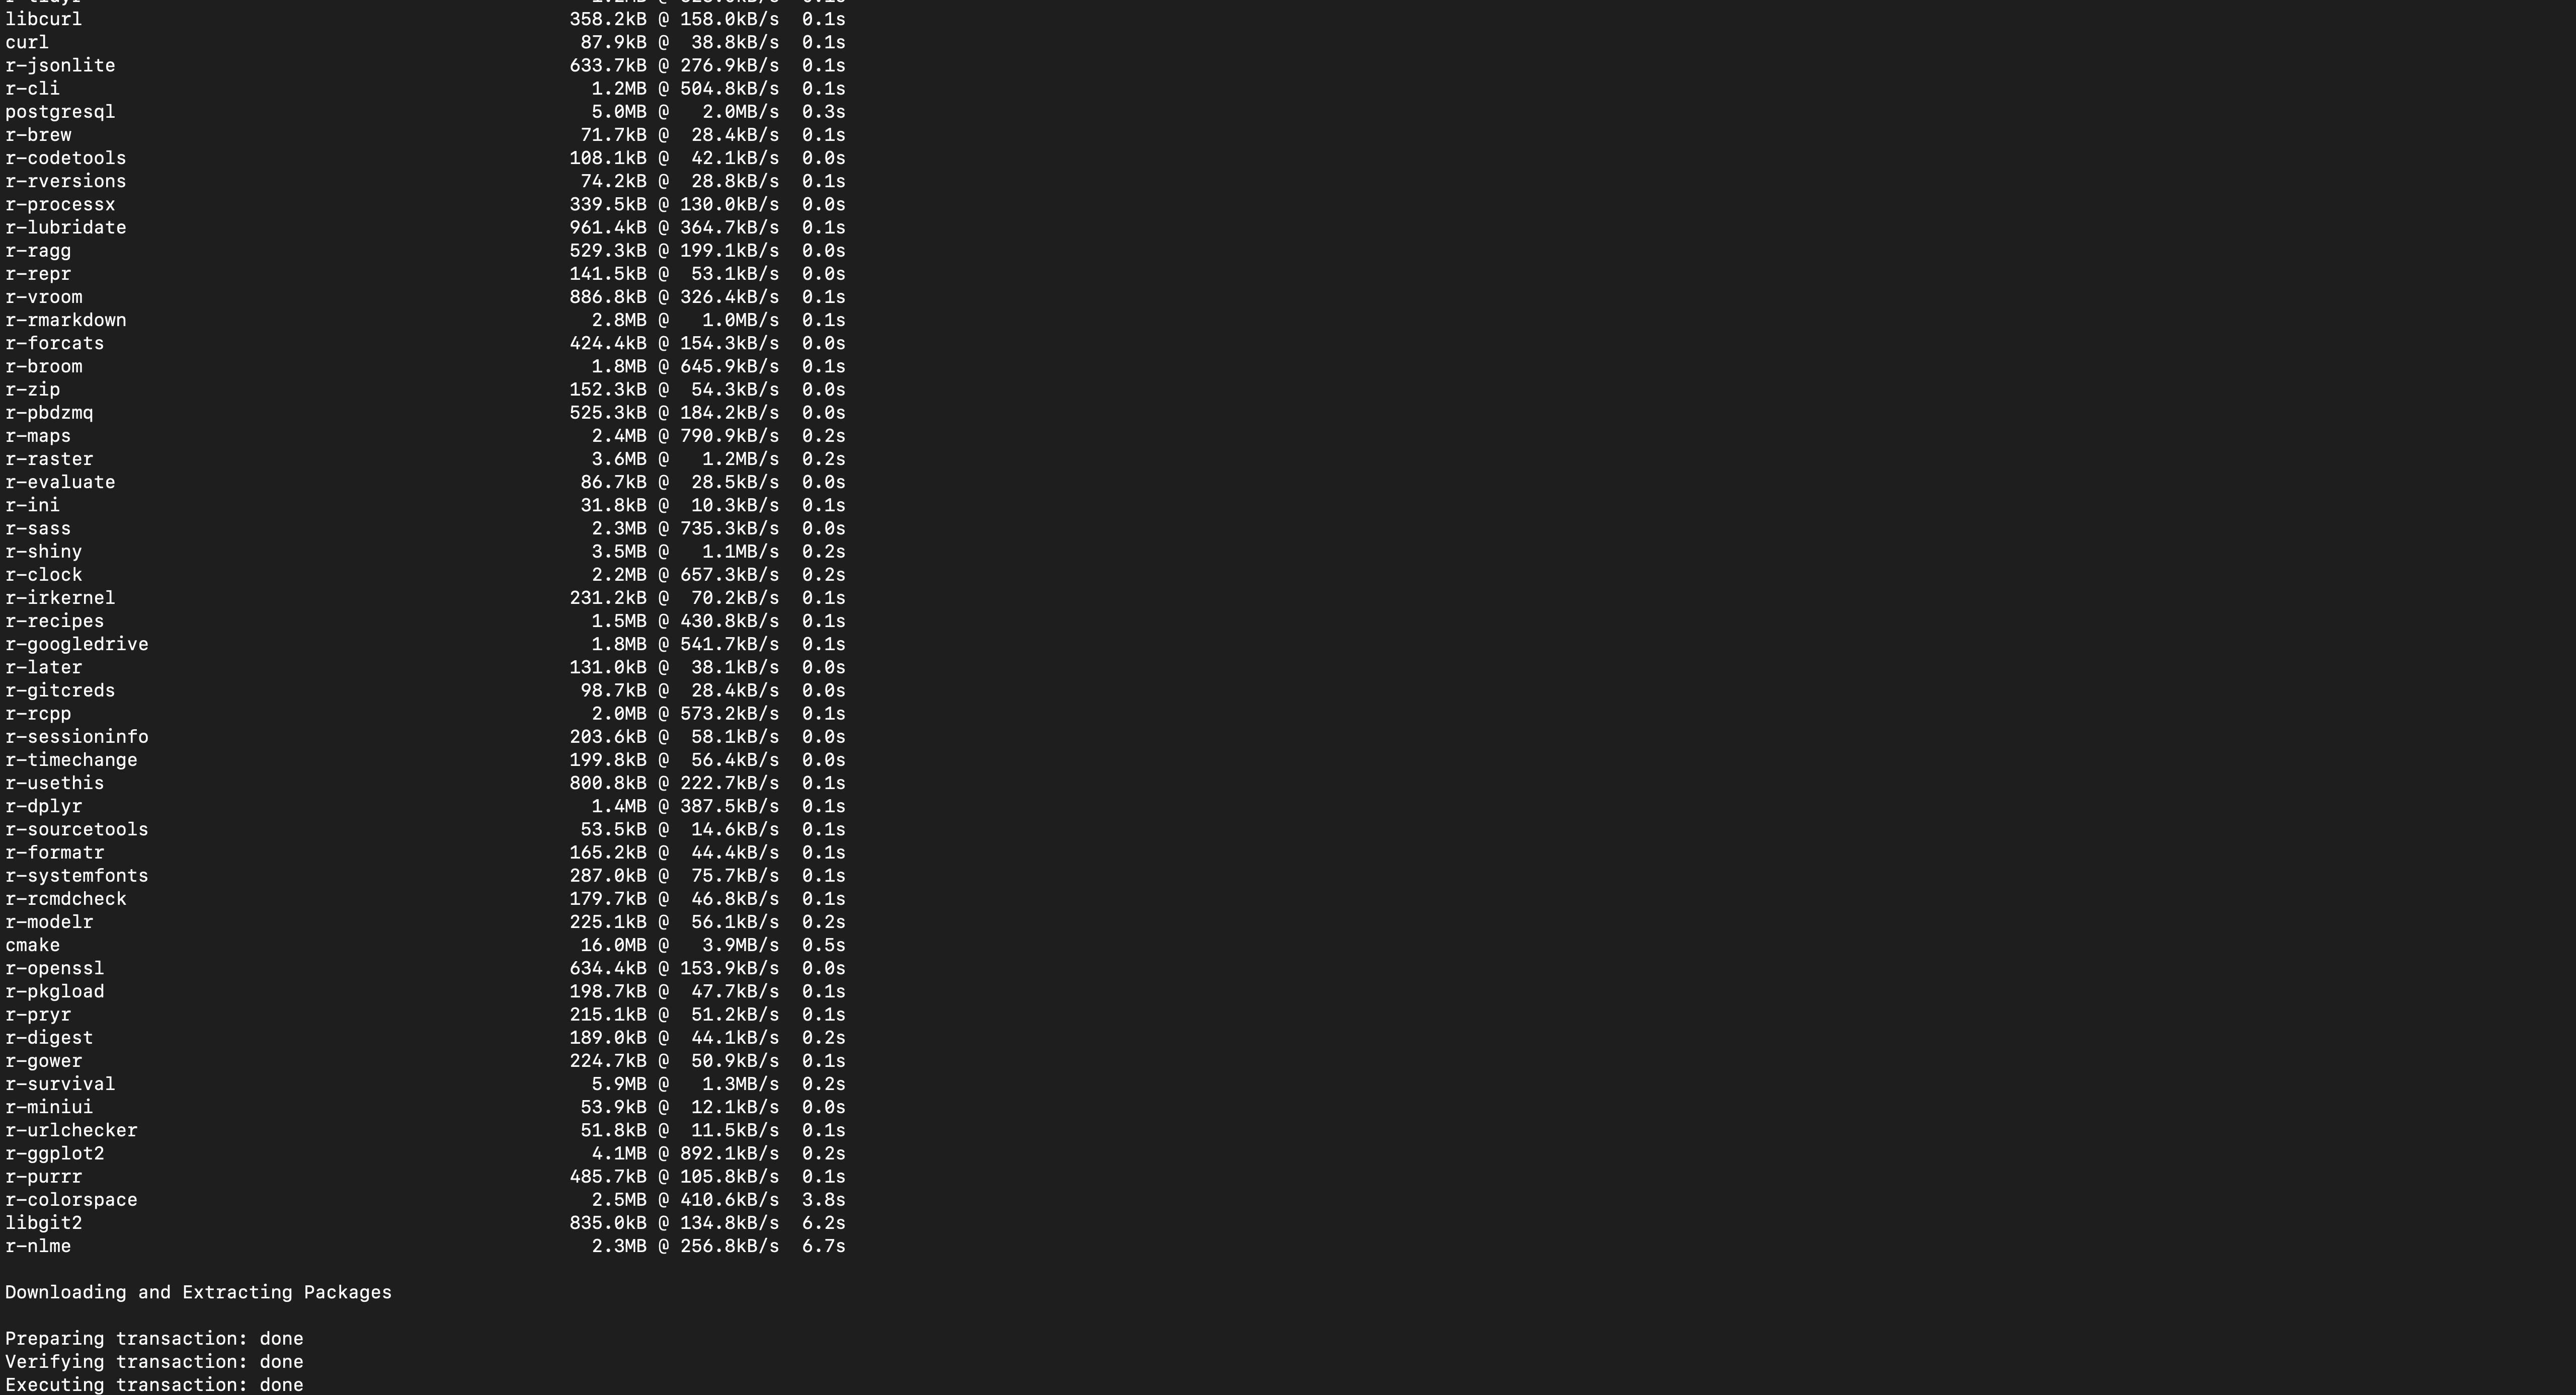
mamba install r-reticulate
git clone https://github.com/KrishnaswamyLab/MAGIC
cd MAGIC/python
python setup.py install --user
cd ../Rmagic
R CMD INSTALL .
- Unload miniconda and update the ycrc environment
conda deactivate
module unload miniconda
ycrc_conda_env.sh update
- install the packages in R, on ood-ruddle, request 4 CPUs 16GB each, rstudio 1.417
install.packages("pacman")
R graphics engine version 15 is not supported by this version of RStudio. The Plots tab will be disabled until a newer version of RStudio is installed.
devtools::install_github("gadenbuie/rsthemes")
library(rsthemes)
rsthemes::install_rsthemes()
install.packages("BiocManager")
- Install clusterProfiler package
packageurl <- "https://cran.r-project.org/src/contrib/Archive/rvcheck/rvcheck_0.1.8.tar.gz"
install.packages(packageurl, repos=NULL, type="source")
BiocManager::install("clusterProfiler")
20230219
- Install R packages - to install old version of seurat
install.packages("imager")
install.packages("/gpfs/ycga/project/fan/sb2723/00.software/spatstat.core_2.4-4.tar.gz",repos=NULL, type = "source")
install.packages("/gpfs/ycga/project/fan/sb2723/00.software/seurat.tar.gz",repos=NULL, type = "source")
- Somehow the clusterProfiler was not installed correctly Reinstall lead to the biocmanager upgrade, unknown factor raster is not be able to be loaded because
configure: error: GDALAllRegister not found in libgdal
- Install jamba
install.packages("remotes")
remotes::install_github("jmw86069/jamba")
20230220
- Compared the ST-Pipeline issue with Mingyu
- Soft-clipping made the difference, to compare the the ratio of soft clipping
module load SAMtools
samtools view mapped.bam | cut -f6 | grep 'S' | wc -l
samtools view mapped.bam | wc -l
20230221
-
Solve the Rmagic issue Could not find the python module magic all the time! The python R reticulated was wrong version, so Graham helped changed the file PATH
- In command line
cd touch .Renviron vi .Renviron- In vim, delete the original wrong pathway and add following sentence, and restart the ood, it worked!!
RETICULATE_PYTHON=/gpfs/ycga/project/fan/sb2723/conda_envs/R_env/bin/python -
To save and read seurat object
saveRDS(samp2,paste0(dir_out,sample,"_samp2.rds"))
saveRDS(samp2,paste0(dir_out,sample,"_samp2.rds"))