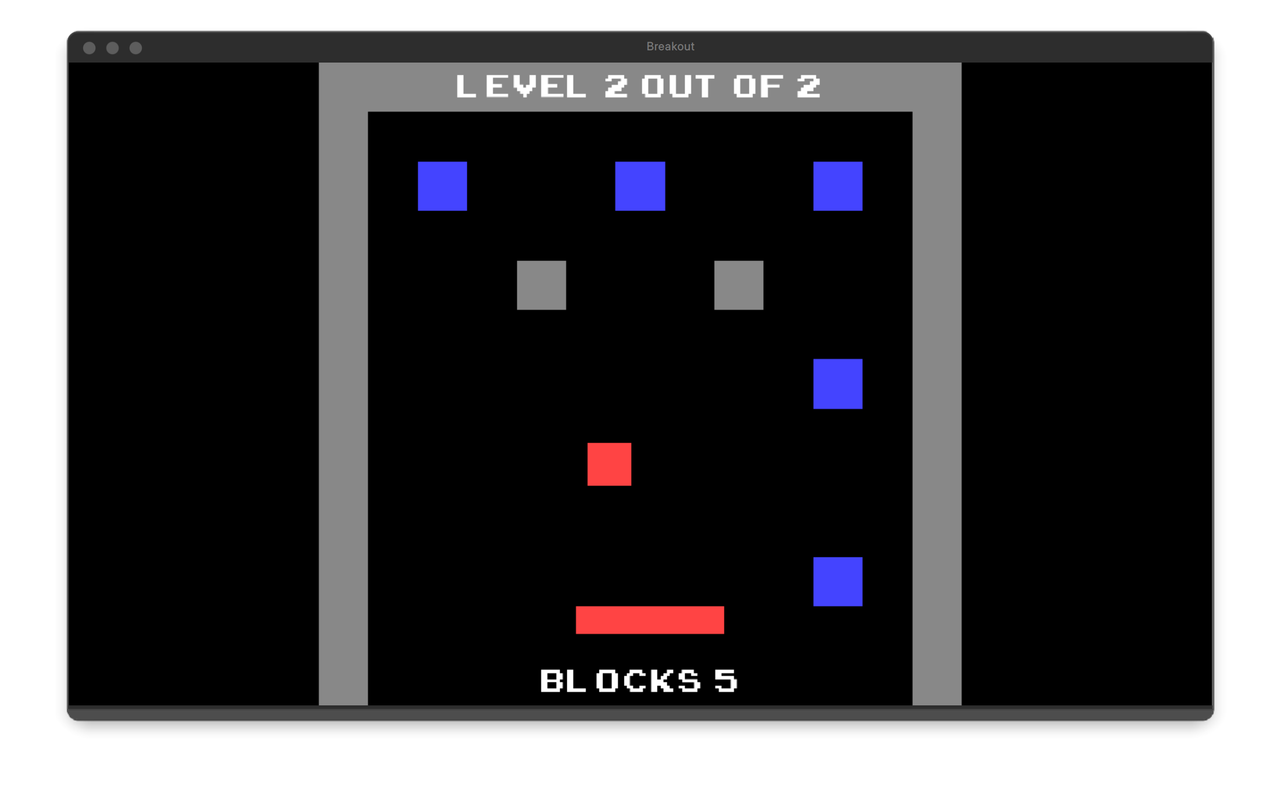
The primary goal of this project is to build a simple Breakout game written in C++ using the raylib graphics library. In this game, the player controls a paddle that keeps the ball within the level, which destroys blocks upon contact. The objective of the game is to navigate through a series of levels, cleaning all levels of blocks.
The game should adhere to the best structured and procedural programming principles. You should strive to effectively utilize structured programming constructs such as selection constructs and loops. Additionally, endeavor to achieve procedural decomposition of your code into functions. Ensure consistent formatting in your code, adhering to coding style best practices, including proper naming, indentation, use of white spaces, blank lines, and comments.
Be creative, and ensure to implement all the requirements outlined below in your project.
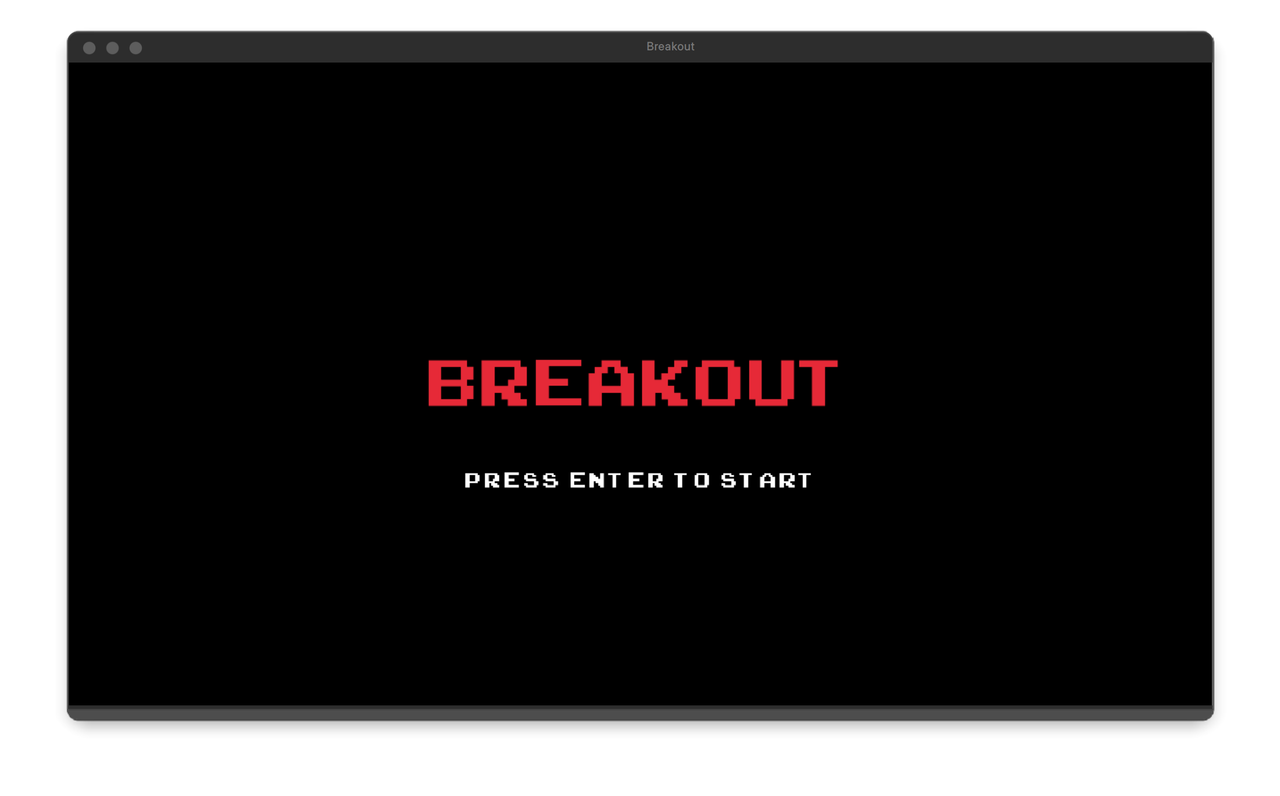
- Title or Menu Screen: The game should start with a title screen featuring a game logo and a message to start the game. Alternatively, it could be a menu screen with options to start the game, view the instructions, or quit the game.
- Game Screen: From the title or menu screen, the player should be able to start the game. The game screen displays the paddle, the ball, and the level. The player moves the paddle using the keyboard. The goal is to move from one level to the next by destroying all the blocks in every level. In our game, the objective of the player is to reach the end by passing through all the levels.
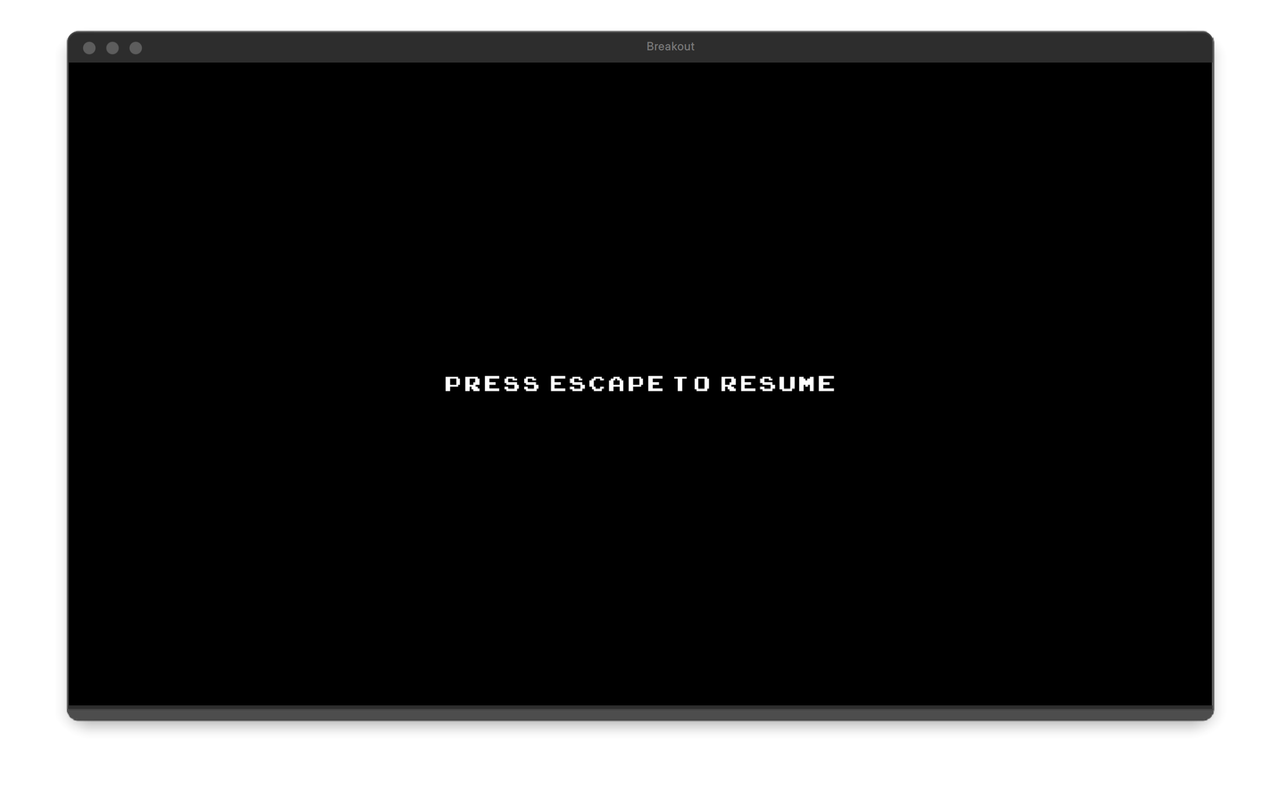
- Pause Screen: The player should be able to pause the game by pressing the Escape key. A 'Pause' screen appears with an option to resume the game. Pressing the Escape key resumes the game.
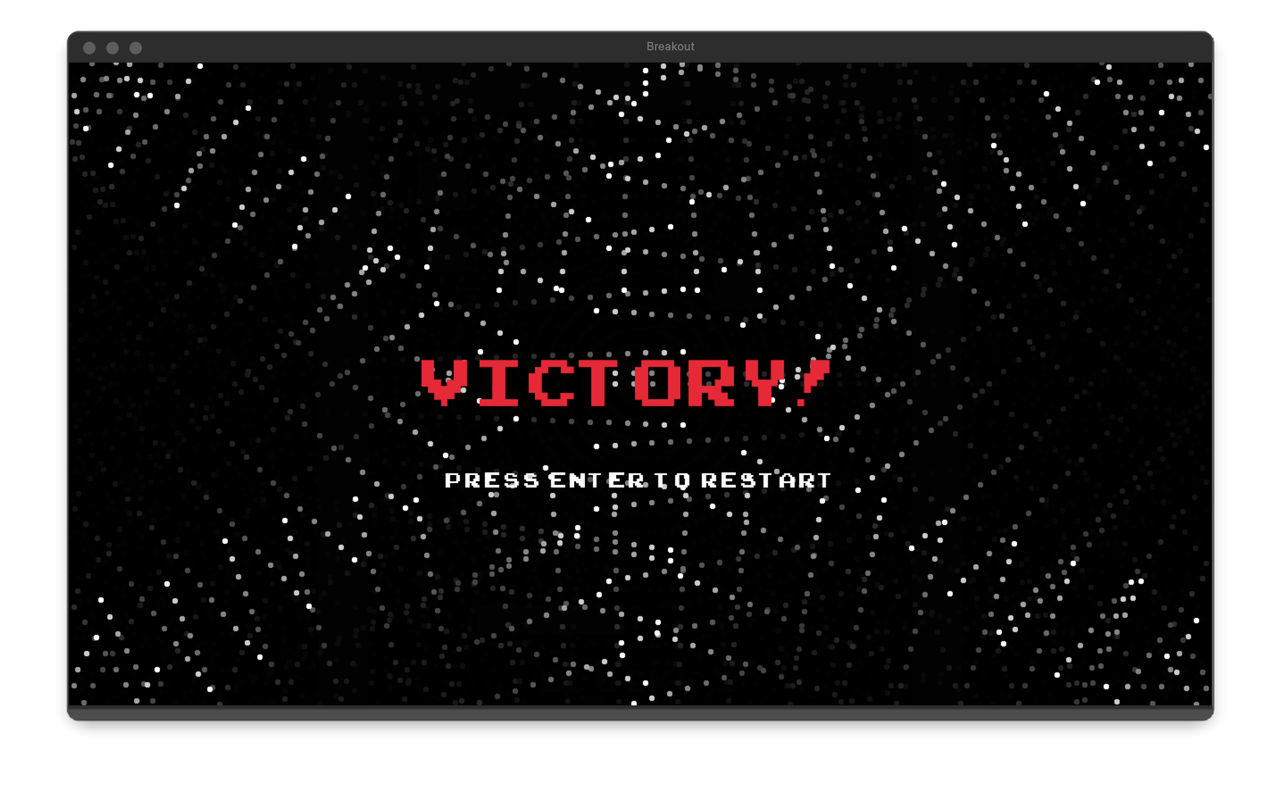
- Victory Screen: Upon passing through all the levels, a victory screen displays a congratulatory message, allowing the player to return to the title screen. Some animation, possibly from lab class exercises, should play in the background to indicate the game's completion. You are at liberty to come up with the animation.
-
Additional Levels: Add at least three extra levels to the game. These levels should be more challenging than the ones given. You may add more levels if you want.
-
Additional Game Elements: Introduce at least three new elements to the game. These could include collectibles, moving obstacles, additional balls, turning the game 3-D, special time events, portals, more advanced bounce-off physics, improved collision detecion, or other modifications to the gameplay. Let your creativity guide you.
-
Game Over Screen: Implement a 'Game Over' screen that displays a message when the player loses the game, such as when the player runs out of lives or the ball leaves the level. This screen should allow the player to return to the title screen or try again.
-
Additional Sounds: Add at least three new sounds to the game. These sounds could accompany actions like bouncing off obstacles, picking up collectibles, or exiting the final level.
-
Background Music: Incorporate at least one music track into the game. This track should play on at least one of the screens. Ensure the track is royalty-free or that you have usage rights. Store the music files in the
data/music/directory and keep them reasonably sized.
-
Develop the code independently of your peers and maintain a detailed project commit history. Be aware that points will be withheld for any suspicion of code plagiarism, even if it's unfounded. Additionally, consistent progress must be evident in your project commit history to receive any points at all.
-
Rewrite the
Readme.mdfile with a description of your game and a list of the features that you have implemented. Note that partially implementing some features is preferable to not implementing any. -
Ensure that the game is playable and contains all necessary files. It should be straightforward for the instructor to set up and start the game with minimal effort.
-
Develop the game within the
<repository>directory. This directory should include adata/subdirectory containing all game assets (images, sprites, fonts, sounds, etc.). -
Organize your code into
.hand.cppfiles. Each file should contain related constants, variables, and functions. -
Place your main game loop into the
breakout.cppfile.
Upon completion, your Project directory should have an organized structure similar to the following example:
.
└── <repository>
    ├── data
    │   ├── fonts
    │   │   └── ...
    │   ├── images
    │   │   └── ...
    │   ├── music
    │   │   └── ...
    │   └── sounds
    │       └── ...
    ├── breakout.cpp
    ├── game.h
    ├── <various header and C++ files>.h/cpp
    ├── ... (.idea, .gitignore, .clang-format, CMakeLists.txt, other files)
    └── Readme.md
Fork our repository first, then clone it. If you skip this step, you will not be able to push your changes. Commit regularly, such as after implementing a feature (ensure the program is in a compilable state).
Set up the raylib project as you have done in previous labs for graphical assignments.
Before attempting to run the code for the breakout target, please ensure that you set the Working directory correctly in your CLion IDE.
The current working directory must point to the directory containing the necessary resource files (e.g., data/images/, data/fonts/, and data/sound|music/). Failure to do so will result in these resources not being loaded properly, and you will not see or hear the intended visuals or sounds in the game.
To set the working directory:
- Open the
Runmenu and find theEdit configurationsbutton there in CLion. - Select the
breakouttarget. - Locate the
Working directoryfield. - Set it to the
$ProjectFileDir$value (this ensures it points to the root project directory with thedatafolder). - Save your configuration and run the target again.
If you encounter any issues, double-check that the paths to the resource files are correct relative to the working directory.
- Read the raylib cheatsheet to discover what is possible.
- Explore the raylib examples for inspiration.
- Spend time searching for ways to break your program: that will help you eliminate edge cases and bugs.
- Log values and verify their correctness if stumbling across a bug.
- Use compilation and linking errors to your advantage: read them.
- Use the debug tool to resolve crashes.
Refer to the specific course or assignment page on Moodle for detailed information about deadlines and the grading rubric.
- Introduction to Programming with C++, 3rd Edition by Daniel Liang