Objective: Jumpstart users in creating AR experiences in Vuforia Studio by providing templates for specific use cases.
Available Vuforia Studio Templates:
-
Maintenance/Assembly Template - This template makes it easier to update a data table in ThingWorx from a Vuforia Studio experience. The purpose is to allow a user to update information regarding a process and its documentation automatically by going through the experience.
-
Machine Learning Template - This template connects Vuforia Studio with Microsoft Lobe, a machine learning engine, that allows the user to train and test a model by taking pictures in Vuforia Studio and sending them to ThingWorx. The purpose is to allow the Studio experience to recognize parts/machinery that may not have CAD data.
This allows the author to import a Creo Illustrate file as an animation for maintenance or dis/assembly. Within the experience the template prompts the user for input, such as name and notes, which is sent into ThingWorx datatable that can be accessed. The Template comes in two parts, the Vuforia Studio zip file and ThingWorx Datatable file.
- Import the Vuforia Studio template file to your local Vuforia Studio.
- You will need to import or create your own Creo Illustrate animation (.pvz file) to the template. This animation will be the main aspect of the experience that the user will interact with. For additional information on how to create Creo Illustrate animations, follow this link.
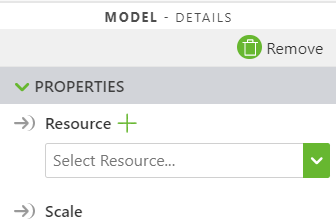
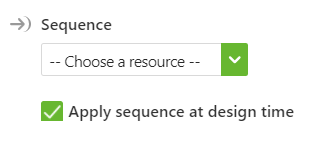
- Open up the template and find model-1. Import your Creo Illustrate file to model-1 and select your desired sequence.
- Open up your ThingWorx instance and import the ThingWorx Data Table entities. Make sure the permissions are turned to public access.
- Go back into Vuforia Studio and make sure your instance matches you ThingWorx instance.
- Click Save and Preview. Note: In preview, follow the prompts to go through the experience and click finish at the end.
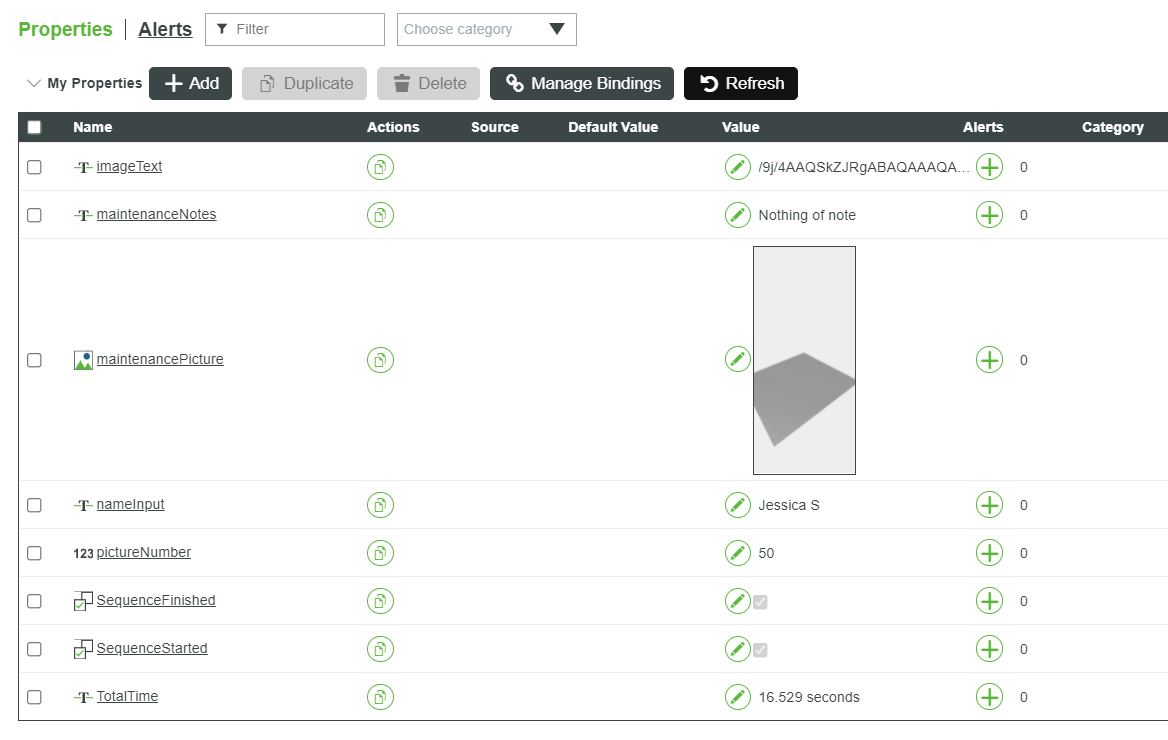
- To make sure your input was recorded correctly in ThingWorx, go to your Data Table and open up properties. There should now be new values in each of the columns.
This template allows for an author to simulate a vision system by connecting Vuforia Studio to Microsoft Lobe through ThingWorx and Jupyter Notebooks. Microsoft Lobe is a machine learning program which allows a user to take pictures to train and deploy a model. This is especially useful in AR instructions to validate users on whether the part they are working on looks correct, particularly when the author does not have access to CAD models to use for model tracking. The author of the experience can train the model to the correct orientation, and then users of the experience can use that model to validate their work.
- [Vuforia Studio zip file]
- [ThingWorx DataTable file]
- [Download Microsoft Lobe]
- [Jupyter code for training model]
- [Jupyter code for deploying model]
This Vuforia experience allows you to take pictures without the traditional 3-second countdown. Those images are then sent and stored in a ThingWorx DataTable. After a connection to Microsoft Lobe is set up through Jupyter Notebooks and Google Colab, those images are then sent to Microsoft Lobe to train the model. Once the model is trained, a user can take a picture in Vuforia and receive a prediction from Lobe.
Steps:
- Import the Vuforia Studio file to your local Vuforia Studio. Make sure you change Experience Service to match your specific ThingWorx instance.
- Import the ThingWorx DataTable to your ThingWorx instance. Make sure the permissions are all set to public access.
Make sure the Connection is working by clicking preview and taking a couple pictures to see if the DataTable updates.
You can then publish your experience and take pictures of your desired project to fill the datatable with a couple of entries.
- Download and open Microsoft Lobe.
Note: It is best to create a simple experience when first starting with Lobe to better understand its capabilities.
Test out your desired project to see its prediction rates. Make any necessary adjustments to picture angles to know how best to train the Vuforia model.
- Open up a local server on Jupyter Notebooks. For additional information on creating a local server on Jupyter Notebooks for Windows, click HERE.
- Open up a script and paste the [training code] in the text area. Follow the comments in the code to edit the code for your particular instance.
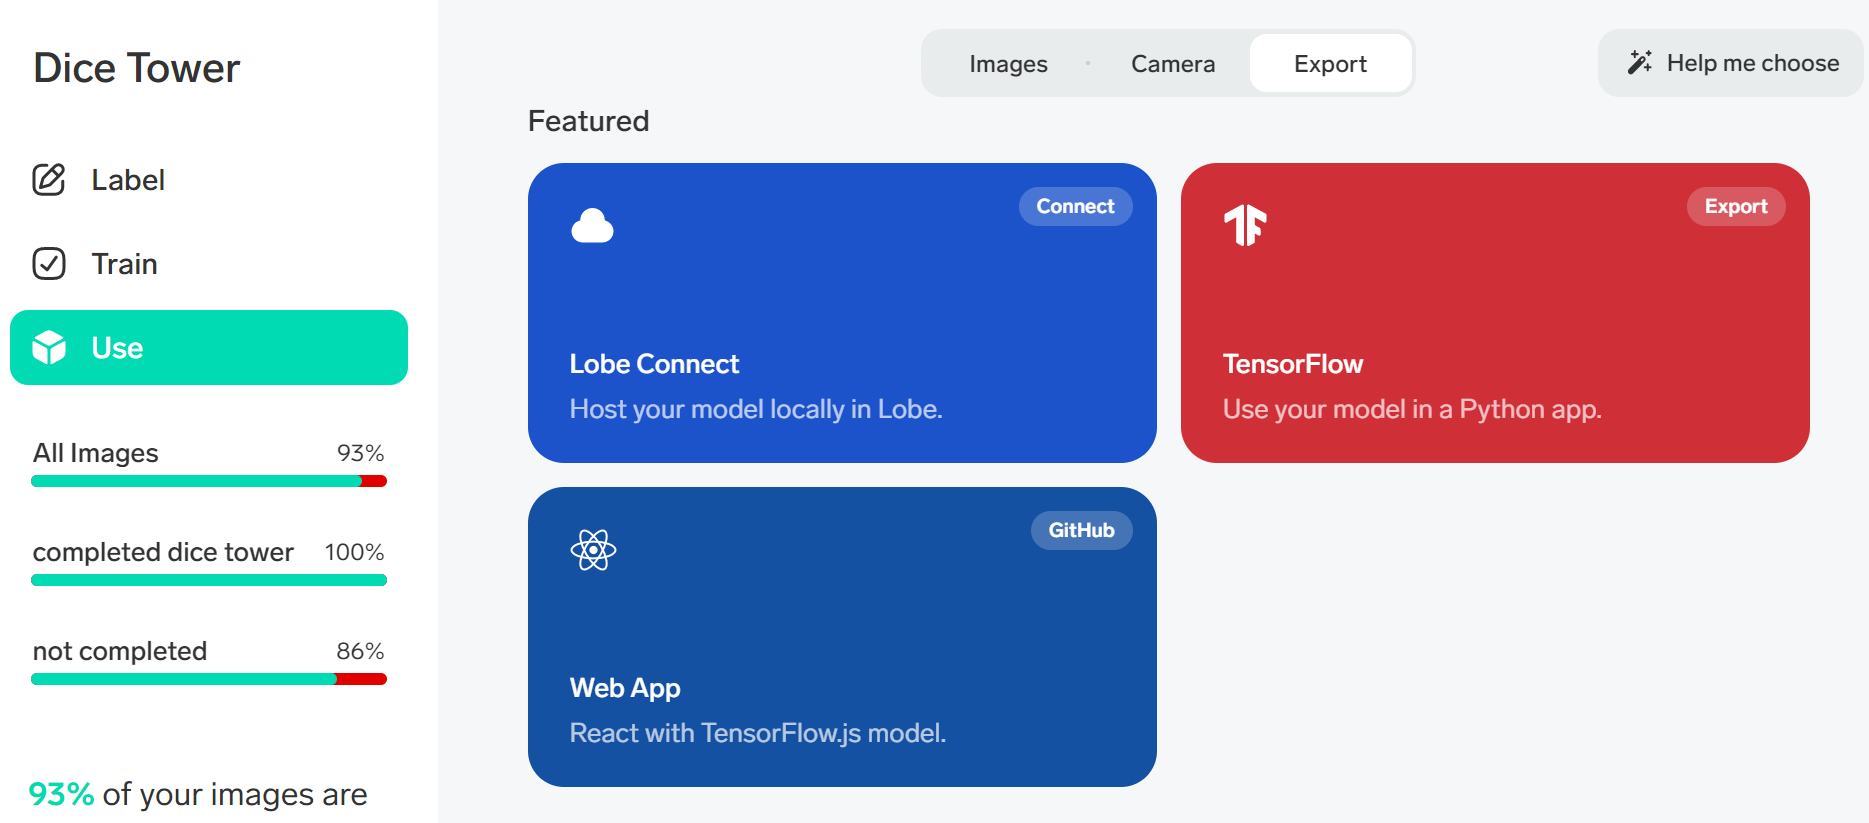
- To get your Microsoft Lobe URL, go to the "Use" tab in Lobe and click on "Export" --> "Lobe Connect". Copy the URL under "Prepare Request"
- Once the code is adjusted, run the program to train the model.
- After the model is trained, open up a new script and past the "deploying code" and make the necessary adjustments mentioned in the comments.
This code will continually run in the background so when the user takes a picture in Vuforia and clicks "View prediction", it will run the code and return a prediction.
- Open up Vuforia experience and test deployment.