This repository is to compile the custom firmware for Pixhawk4 named Ardusub and flash it onto Pixhawk 4.
- Pixhawk 4 flight controller
- PC running Ubuntu 18.04 and ROS melodic
- Joypad (PS4)
- USB cables
- Thrusters, speed controllers and batteries for testing
ArduPilot MALLARD (AP-M) is a customised ArduPilot firmware for MALLARD. It is built based on the current stable ArduSub release (ArduSub-4.0.3).
AP-M provides a Custom frame configuration adapted to the thruster allocation used on MALLARD. This frame configuration allows higher level motion command input such as move_forward, turn_left, etc. AP-M also provides two new frame configurations, i.e. JOYSTICK_PWM_CONTROL and ROS_PWM_CONTROL, which enables sending a PWM signal directly to each individual motor by pushing a joystick or publishing a ROS topic (via MAVROS), respectively. The ROS PWM Control frame assumes thruster allocation is dealt with within ROS.
For this build guide, we use a Pixhawk 4 and direct USB connection to a PC running Ubuntu.
In case you have not yet installed git, run the following commands in terminal:
sudo apt update
sudo apt install git
Open a terminal and cd to our desired root folder for the repository, then clone the main ArduPilot MALLARD repository using your preferred authentication protocol.
- HTTPS:
git clone --recursive https://github.com/EEEManchester/ArduPilot_MallARD.git
A script is provided to automatically setup your build environment.
cd ArduPilot_MALLARD
Tools/environment_install/install-prereqs-ubuntu.sh -y
Reload the path (log-out and log-in to make permanent):
. ~/.profile
Make sure you are in the repo's root directory.
If you have previously built the firmware, you may want to clean waf first:
./waf clean
Then
./waf configure --board Pixhawk4
./waf sub
After the code finishes, you can find the new firmware ardusub.apj in the build/pixhawk4/bin directory.
There are two conditions for this to work:
- with a direct USB connection to the Pixhawk
- only after configuring and building with
wafbefore
./waf --upload sub
1.Install QGroundControl QGroundControl can be installed/run on Ubuntu LTS 18.04 (and later).
Ubuntu comes with a serial modem manager that interferes with any robotics related use of a serial port (or USB serial). Before installing QGroundControl you should remove the modem manager and grant yourself permissions to access the serial port. You also need to install GStreamer in order to support video streaming.
Before installing QGroundControl for the first time:
-
On the command prompt enter: Add the user's name to the dialout group, not the user root even though the command is run as root:
sudo usermod -a -G dialout $USERRemove the modem manager and grant yourself permissions to access the serial port:
sudo apt-get remove modemmanager -yInstall GStreamer in order to support video streaming (probably not be use in MallARD):
sudo apt install gstreamer1.0-plugins-bad gstreamer1.0-libav gstreamer1.0-gl -y -
Logout and login again to enable the change to user permissions.
To install QGroundControl:
- Download QCG from this link QGroundControl.AppImage.
- Install (and run) using the terminal commands from the folder containing the .AppImage file:
chmod +x ./QGroundControl.AppImage
./QGroundControl.AppImage
When QGC launches you may see an error saying 'Parameters are missing from firmware. You may be running a version of firmware which is not fully supported .....'. This is normal, just proceed.
- Finish the sensors setup in QGroundControl - click sensors and follow procedures for accelerometer and compass - autopilot rotation set to none
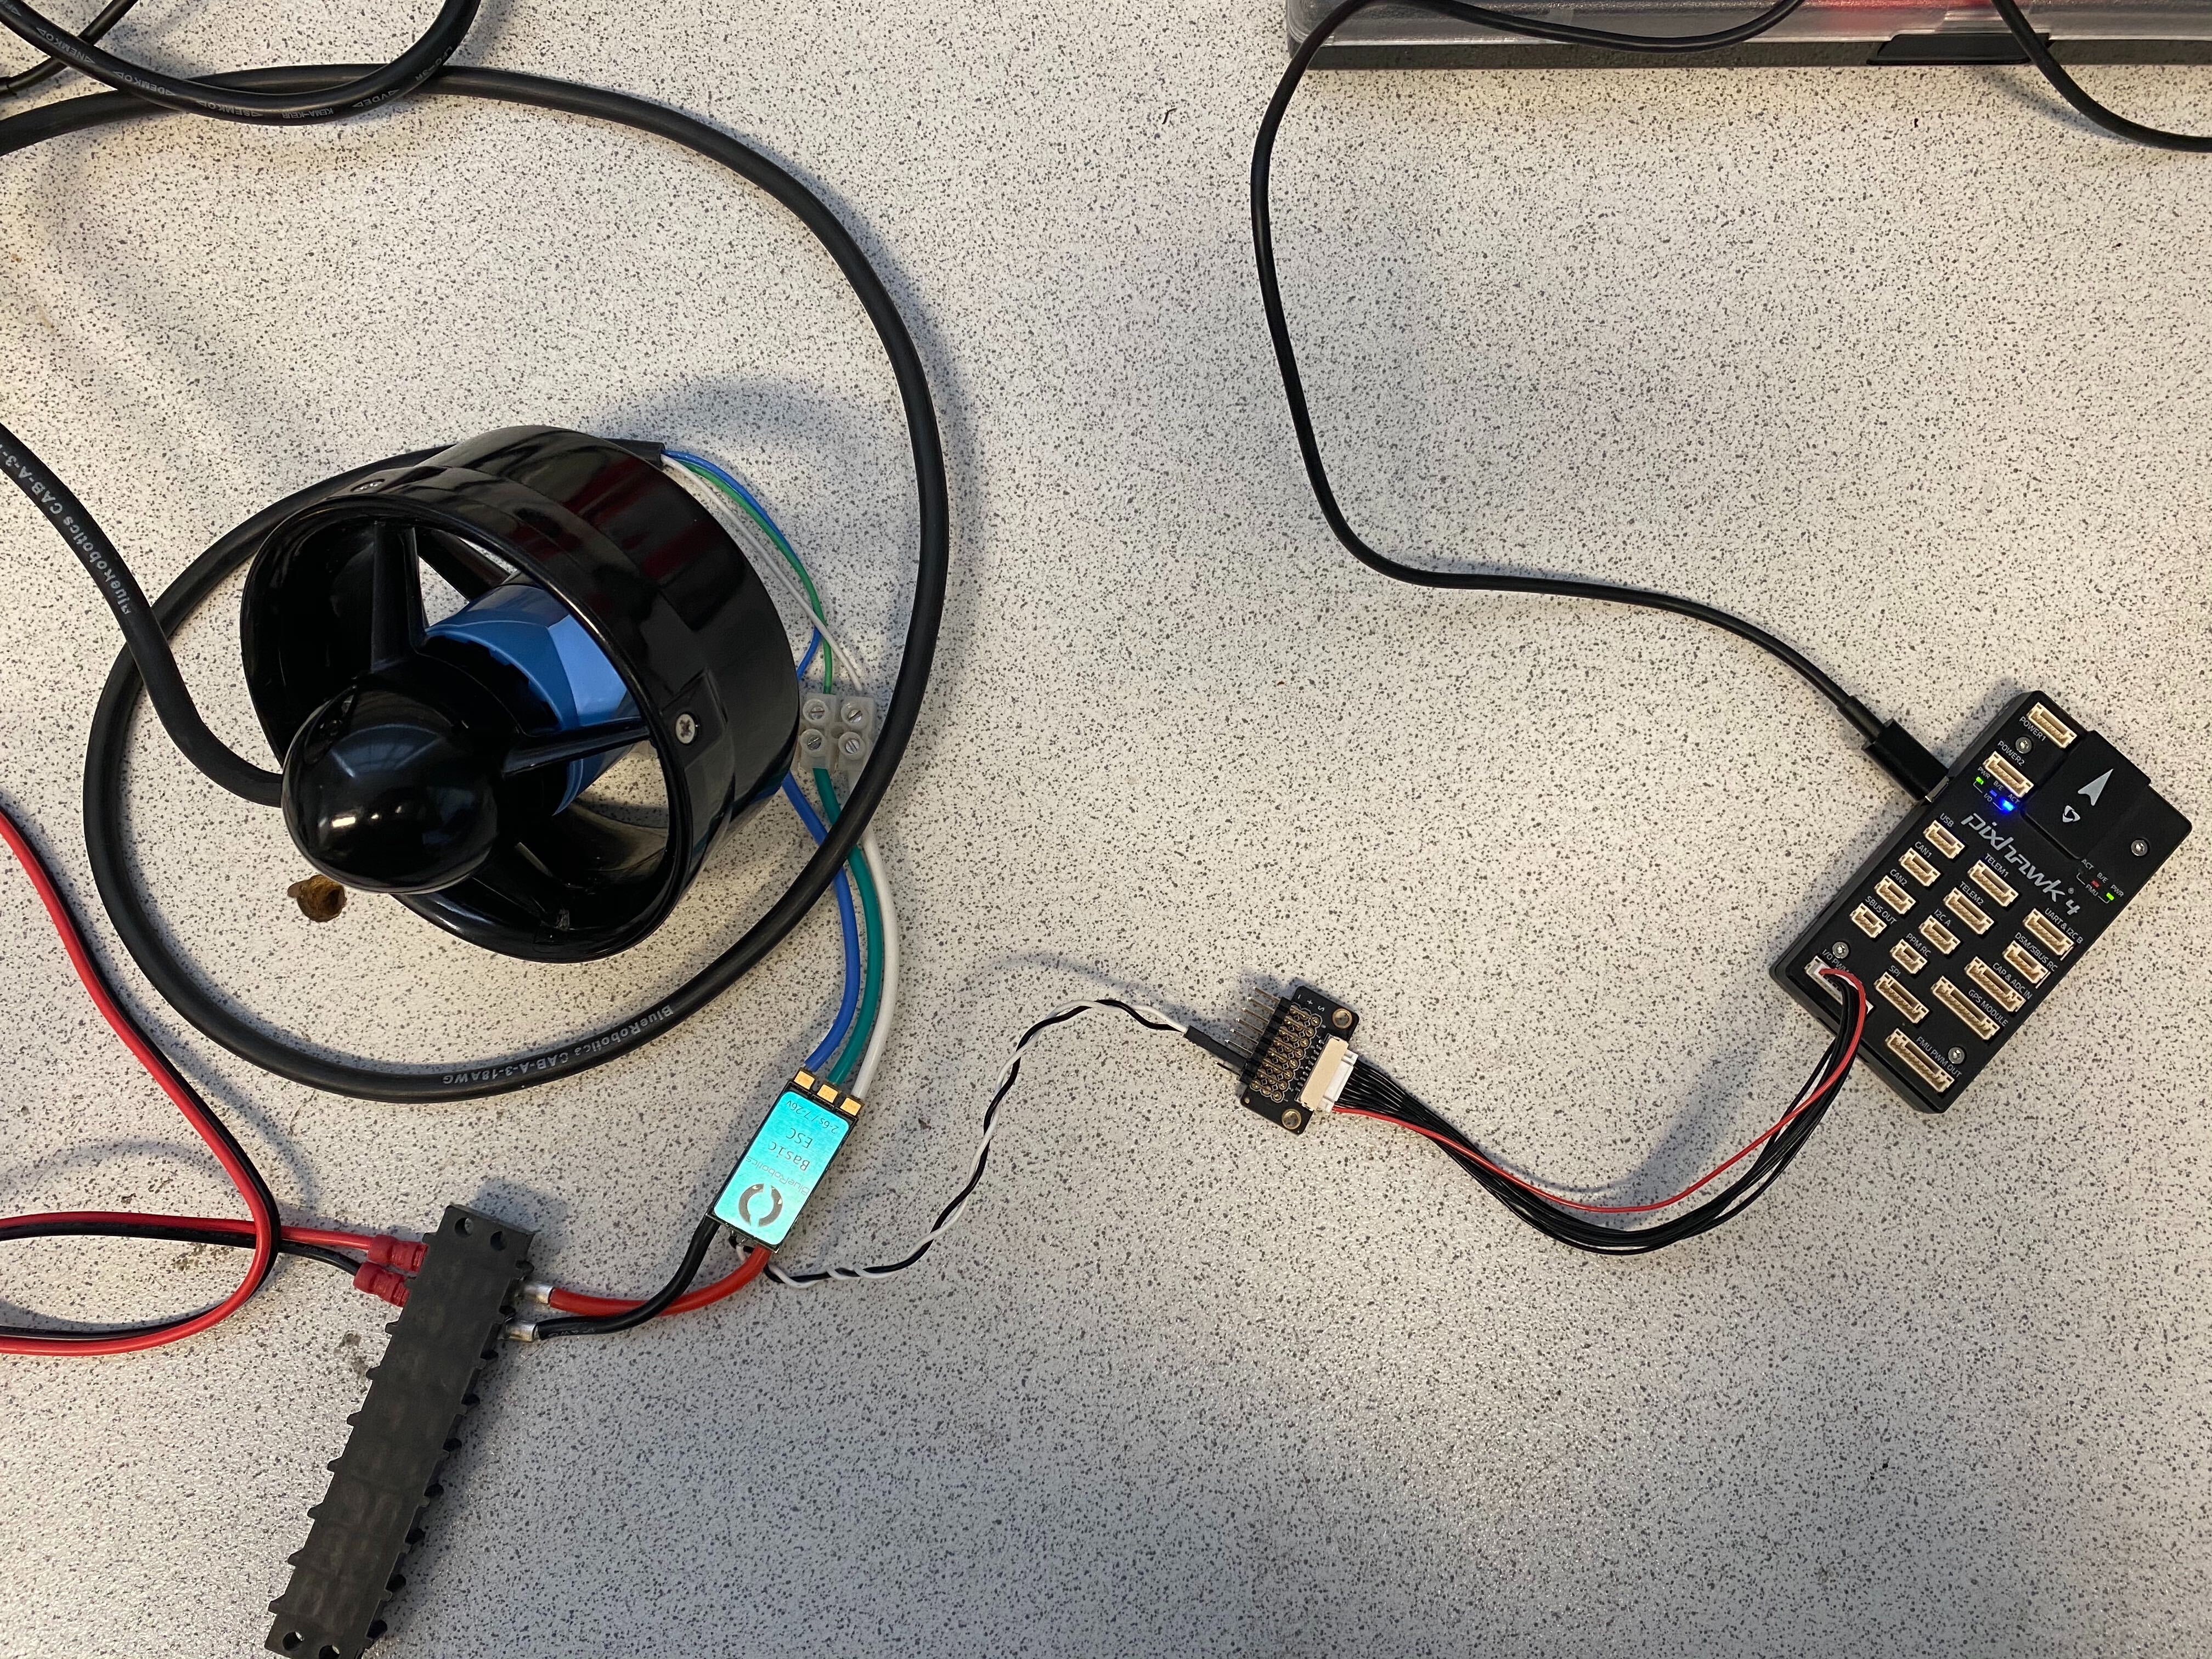
2.Hardware setup for test
Connect the hardware as the photo shown below:
3.Test the motor
- Launch QGC, using command
./QGroundControl.AppImage
Frame selection (For more details about thruster allocation, please check this link README_math.md
ArduSub frame can be configured by setting FRAME_CONFIG. In addition to the built-in options, we offer two additional configurations. The Custom frame has also been modified to reflect the thruster allocation of MALLARD 003.
-
Set the thrust allocation:
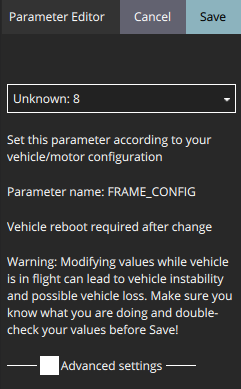
Click Q icon --> Vehicle Setup --> Parameters. Using the search bar: FRAME_CONFIG. Set it to 8 in advanced settings (the number associated with the joystick PWM control thrust allocation).
You may see its parameter editing panel:
icon --> Vehicle Setup --> Parameters. Using the search bar: FRAME_CONFIG. Set it to 8 in advanced settings (the number associated with the joystick PWM control thrust allocation).
You may see its parameter editing panel:
-
Make sure the motors you want to test are enabled:
In parameters setting, using the search bar: SERVO1_FUNCTION. Check it has been set to motor1 (sometimes displayed as 33). Do the same steps to SERVO2_FUNCTION (Motor2 or 34), SERVO3_FUNCTION (Motor3 or 35), SERVO4_FUNCTION (motor4 or 36). You may see the panel like this.

-
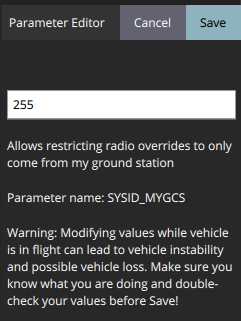
Make sure you system ID is 255:
In Parameters, using search bar: SYSID_MYGCS, make sure it has been set to 255 (Advanced settings).
-
Add a virtual joystick:
Click Q icon --> Application settings --> General --> tick virtual joystick
-
Arm and using the virtual joystick to make the thruster move:
Use JOYSTICK_PWM_CONTROL frame and when you put input on x thruster 1 should move but no others. input on y only thruster 2 moves . input on yaw only thruster 3 moves. input on z only thruster 4 moves.
ArduSub frame can be configured by setting RAME_CONFIG. In addition to the built-in options, we offer two additional configurations. The Custom frame has also been modified to reflect the thruster allocation of MALLARD.
| Value | Description | Comment |
|---|---|---|
| 7 | Custom | Tthruster allocation can be modified by editing the matrix found in AP_Motors6DOF.cpp @ case SUB_FRAME_CUSTOM |
| 8 | Joystick PWM Control | WIP Each motor's PWM input is mapped to a single RC channel |
| 9 | ROS PWM Control | All motors are disabled for control via MAVLink message COMMAND_LONG (#76) & AV_CMD_DO_SET_MODE (176) |
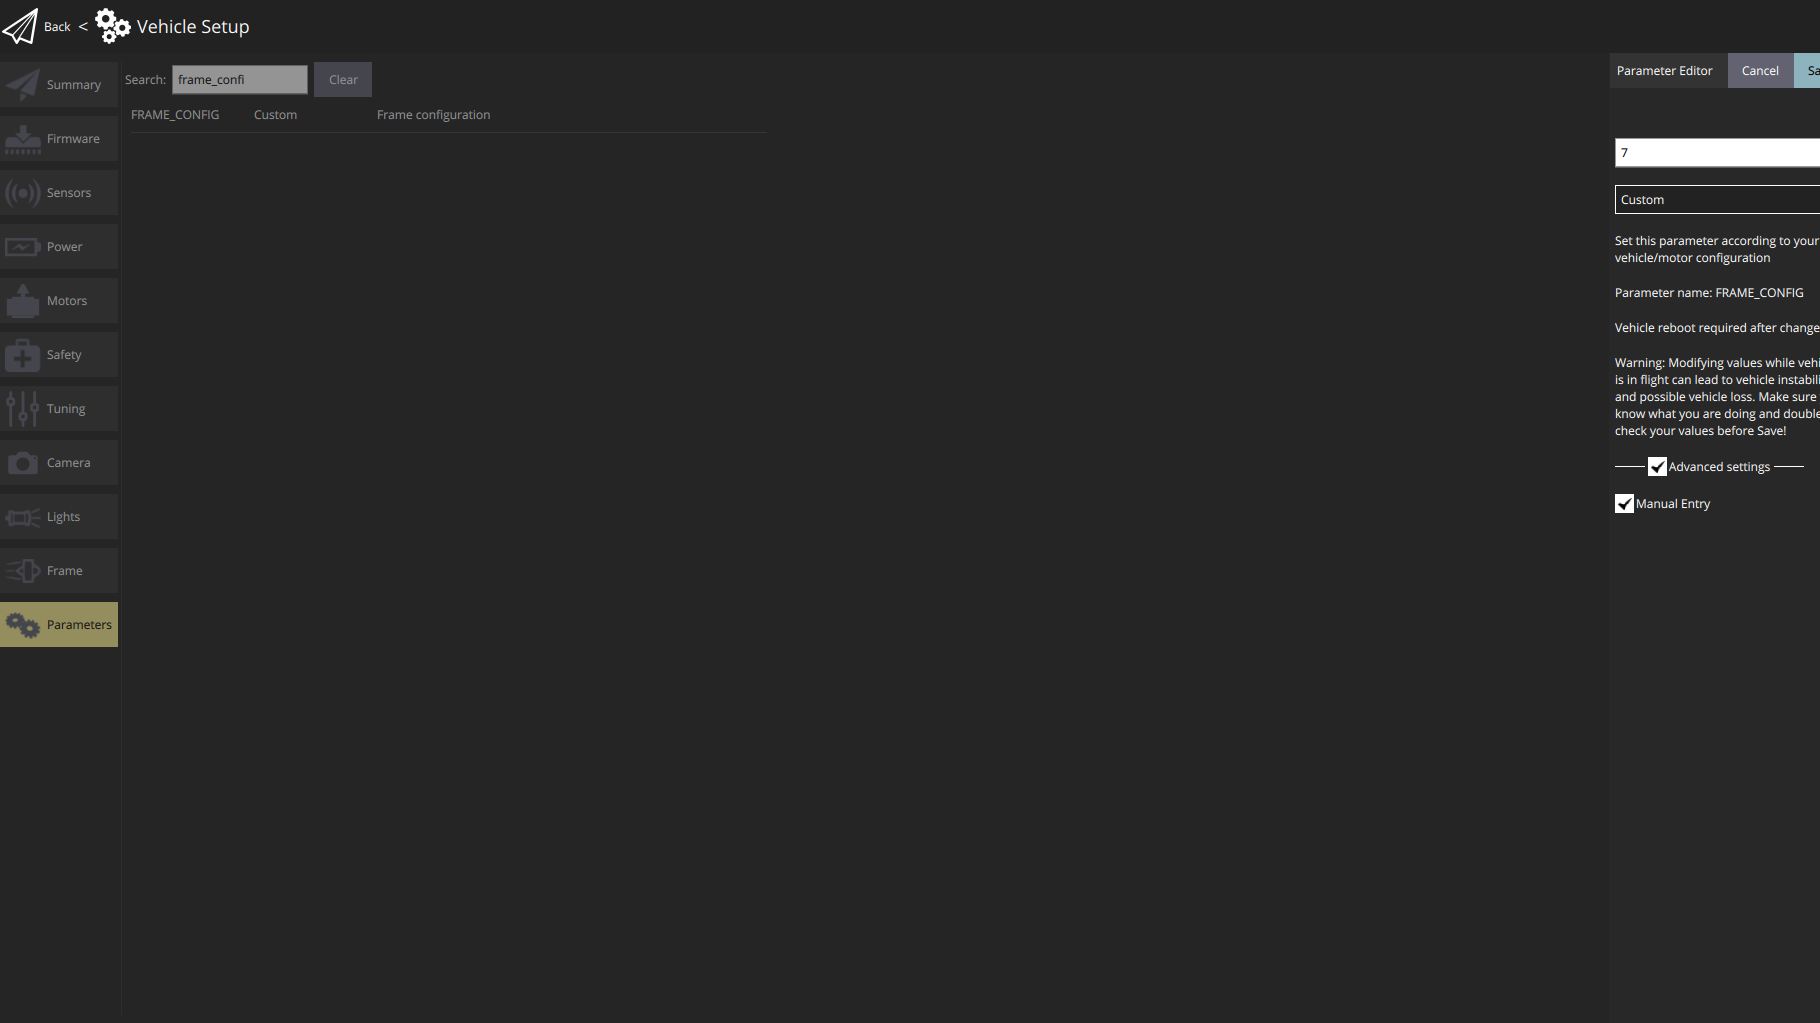
You may use QGC to select the required frame in its parameter editing panel:
In unlikely situation that the above instructions do not work, you may want to check out the original ArduPilot guides: