

Nairda Robot Programming is a platform for programming hardware projects from the algorithm to run on the microcontroller to the design of the graphic interface to control the device via bluetooth 2.0 or ble 4.2 from your Android or Ios samartphone or tablet.
Nairda connects with your prototype with the Nairda Board or with an arduino UNO, NANO, LEONARDO, MEGA, NUCLEO64 boards from STMicro and a Bluetooth Low Energy 4.0 (HC-08 or HM10) or 2.0 (HC-05 or Hc-06) or ESP32 WROOM32 board.
Once our arduino or nairda board has the Nairda firmware loaded, it is no longer necessary to use the computer again to program our projects.
Design your own graphical interface for the control of your prototype just by dragging joysticks or buttons and linking them to the programming blocks.
The graphic programming blocks that nairda uses are inspired by those of Google's Blockly (Scratch) with some modifications, to work better with hardware components.
Make the following connections between your Nairda compatible card if it does not have integrated bluetooth:
- TX -> bluetooth Rx.
- RX -> bluetooth Tx.
- Vcc -> bluetooth Vcc.
- Gnd -> bluetooth Gnd.

Remember that to control DC motors you must connect an h bridge like the L293D, L298D or TB612.
To install it we must follow the following steps:
- To install the Nairda Firmware on your Arduino compatible board you must download the library by clicking here, unzip the file "NairdaArduino Library-Master.zip" it contains the "NairdaArduinoLibrary-Master" folder
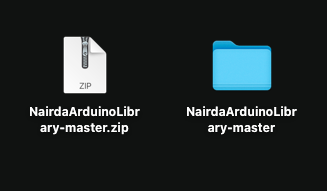
- Rename the "NairdaArduinoLibrary-master" folder to "NairdaArduinoLibrary".
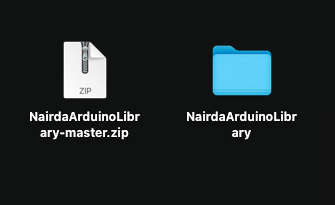
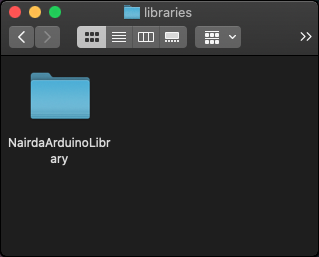
- Copy the NairdArduinoLibrary folder into your Documents-> Arduino-> libraries folder.
- Now open your Aruino IDE and click File-> Examples-> Nairda-> NairdaFirmware.
#include <nairda.h>
void setup() {
#if defined(ARDUINO_ARCH_ESP32)
nairdaBegin("NairdaESP32");//This is the name of the BLE device
#else
nairdaBegin(9600);
#endif
}

void loop() {
nairdaLoop();
}- In tools select your arduino and the port, connect your arduino to the computer and click upload, when the firmware has finished uploading your arduino is ready to work with Nairda Robot Programming.

When opening a project the first thing we will see is the control. In this area we can add and configure buttons and joysticks to execute code blocks. To add a joystick or button we must click on the control icon.By long pressing on a button or joystick you can drag and drop onto the canvas.

To assign programming blocks to buttons or joysticks, we must click on them and select a block, remember that a joystick is a set of four buttons and each button has an event when pressed and another when released.


By pressing the puzzle button we enter the block programming area. In this area we will program all the logic of our robot with graphic blocks.

By clicking on the puzzle button, the block panel will be displayed, in which we will find all the different blocks that we can use and generate. To add a block to the canvas we must make a sustained clock over it and drag it onto the canvas.


Esta librería implementa un microkernel con jump table que permite ejecutar binarios de usuario pequeños (~700 bytes) escritos en C, separados del firmware base. Detalles:
| Doc | Contenido |
|---|---|
docs/nairda_kernel_architecture.md |
Arquitectura general del jump table + user-app loader |
docs/nairda_kernel_bootloader_avr.md |
AVR: BootJacker ROP en Optiboot 4.4, partition table custom |
docs/nairda_kernel_bootloader_esp32.md |
ESP32: jump table en RTC slow memory, partition Kidsy 2MB, header v2 con entry_offset 16-bit, BLE name persistente, cross-thread re-advertising fix |
docs/nairda_user_api.md |
API completa que los binarios de usuario pueden llamar via jump table — incluyendo nairda_setBleName (ESP32, slot 31) |
docs/linker_nairda_vectors.md |
Linker script para crear el jump table en la sección apropiada |
Build:
arduino-cli compile --fqbn esp32:esp32:esp32doit-devkit-v1 examples/nairda_firmware
arduino-cli upload --fqbn esp32:esp32:esp32doit-devkit-v1 --port /dev/cu.usbserial-XXX \
  --upload-property upload.speed=115200 examples/nairda_firmware
Para enable logs de depuración, editar src/nairda_log.h y cambiar #define NAIRDA_DEBUG 0 → 1. Monitor serial a 9600 baud.
-
Thanks to ivanseidel for his library LinkedList.
You can find more information on our website by clicking HERE.